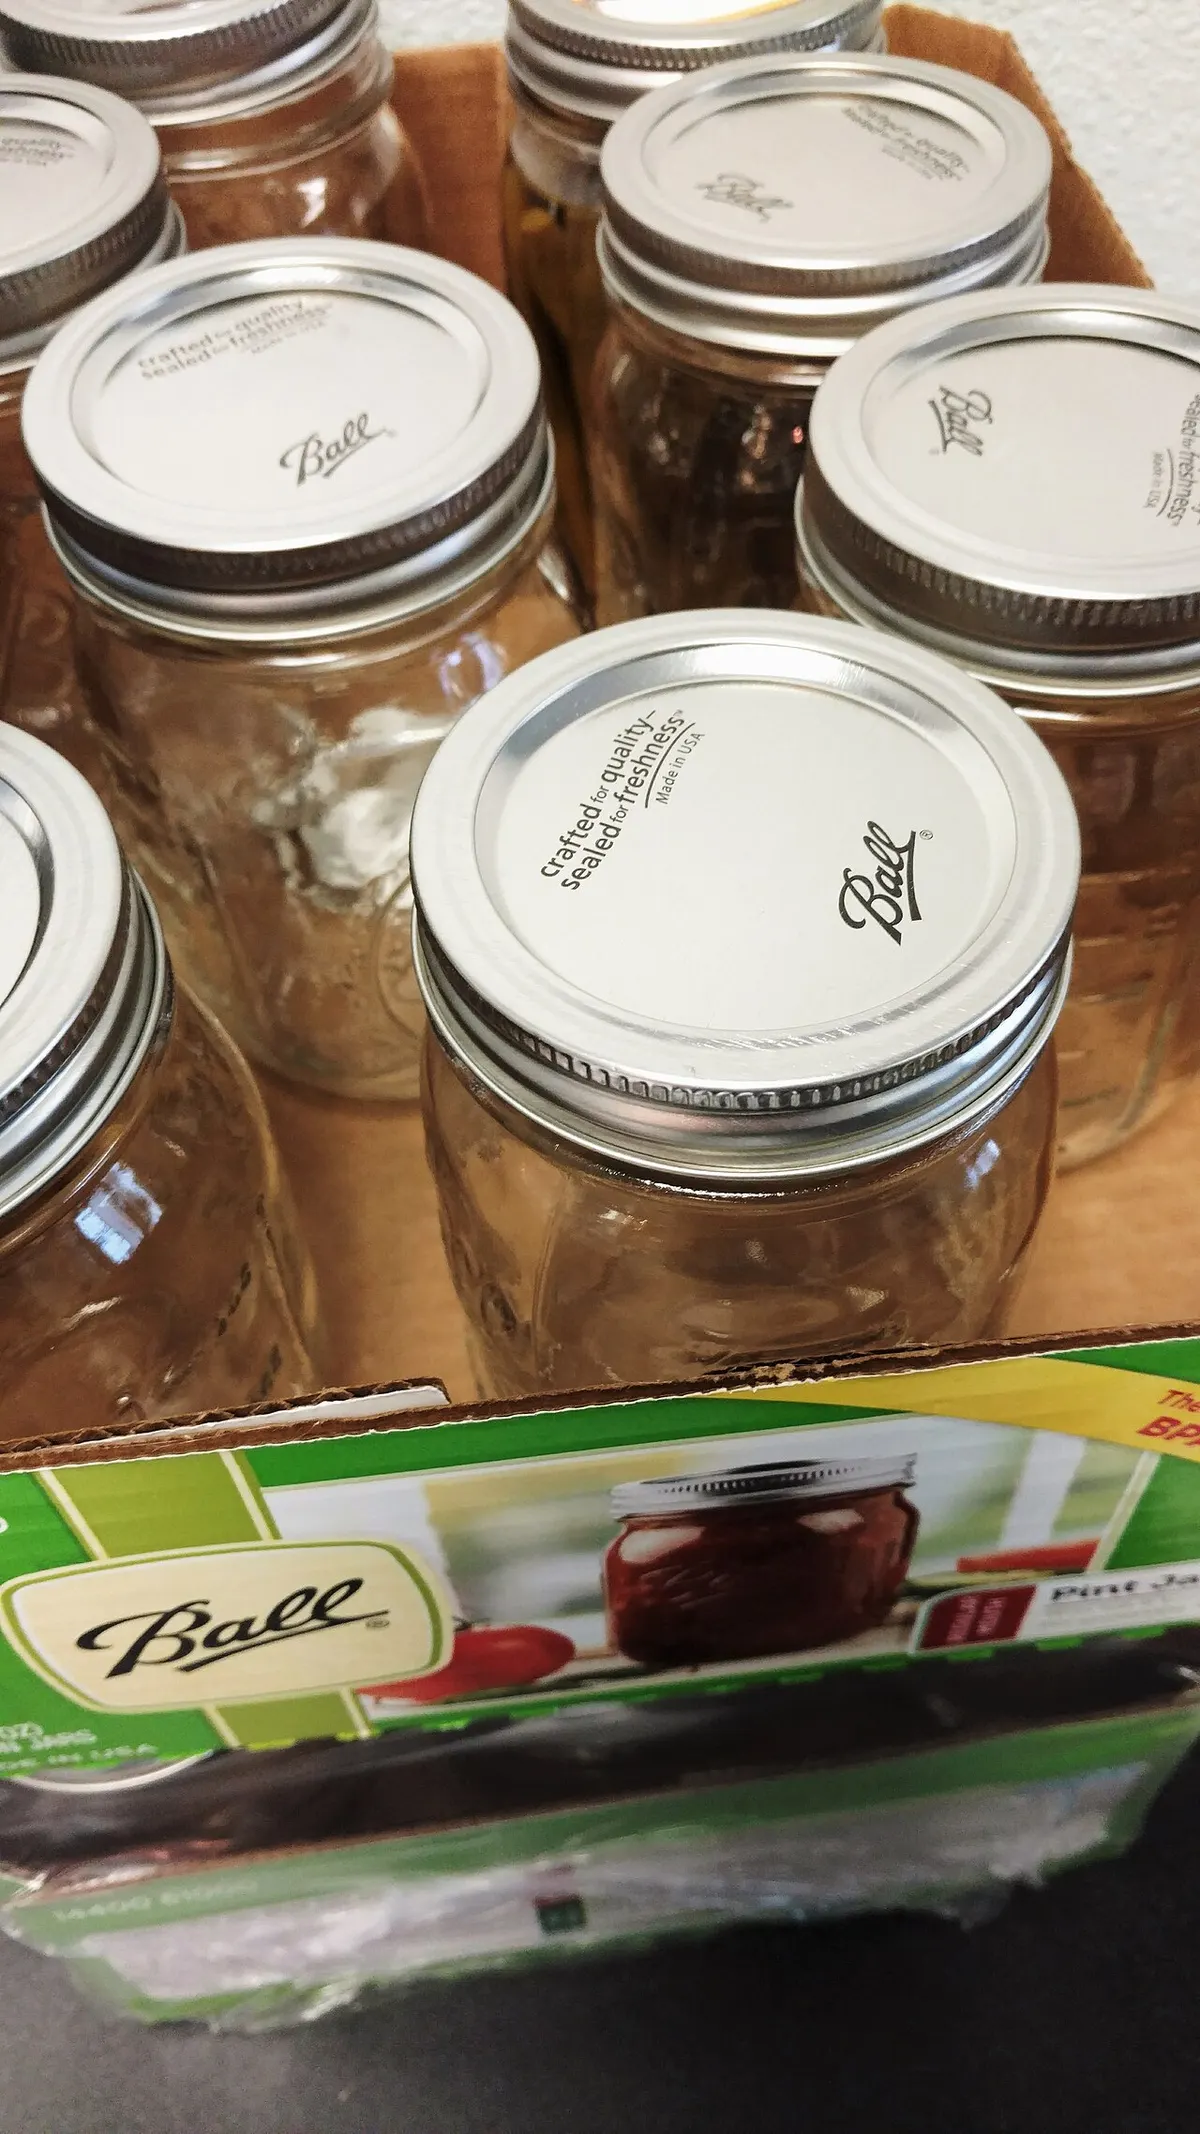
If you want to learn how to preserve food at home, the good news is that there are really only four jobs you can give food: sour it, seal it, dry it, or chill it. Everything else, from sauerkraut to strawberry jam to jerky, is a variation on one of those four.
The less-good news is that the methods are not interchangeable. A process that is perfectly safe for pickles can be dangerous for green beans. So this guide does two things. It explains what each method actually does to food, and it gives you a sensible order to learn them in, so your first jar is a success and not a science experiment.
What are the four ways to preserve food at home?
Spoilage comes from microbes (bacteria, yeasts, molds) and from the food’s own enzymes. Every preservation method works by making life hard for them. Here is the short map.
| Method | How it stops spoilage | Best for | Shelf life (typical) | Starter cost |
|---|---|---|---|---|
| Fermenting | Salt plus lactic acid bacteria turn sugars into acid | Cabbage, cucumbers, peppers, most vegetables | Months in the fridge | Low: jars, salt, a scale |
| Water bath canning | Acid food plus boiling heat plus a vacuum seal | Jams, fruit, pickles, acidified tomatoes | Shelf stable, best within a year | Low to moderate |
| Pressure canning | Heat above boiling (240 to 250°F) plus a vacuum seal | Vegetables, meat, beans, stock | Shelf stable, best within a year | Moderate to high: a pressure canner |
| Drying | Removes the water microbes need | Fruit, herbs, jerky, some vegetables | Months, longer in the freezer | Low (oven) to moderate (dehydrator) |
| Freezing | Cold halts microbial growth | Almost anything | 8 to 12 months at 0°F for quality | Whatever freezer you already own |
Freezing sits on the list as a bonus fifth method because almost everyone already does it. It still counts. Blanched green beans in a freezer bag are preserved food.
Fermenting: the easiest first step
Fermenting is where most people should start, for three reasons. It costs almost nothing, it forgives small timing errors, and the result tastes better than anything from a shelf.
The mechanism is simple. Salt pulls water out of vegetables and makes a brine. That salty, low-oxygen environment favors lactic acid bacteria, which are already living on the vegetables. They eat the sugars and produce lactic acid, and the rising acidity crowds out the microbes that cause rot.
Three variables do most of the work:
- Salt by weight. Extension recipes for sauerkraut use 3 tablespoons of canning salt per 5 pounds of cabbage, which works out to roughly 2 to 2.5 percent salt by weight. Weighing is more reliable than measuring by the spoon.
- Temperature. The National Center for Home Food Preservation (NCHFP) puts the sweet spot at 70 to 75°F, where kraut takes about 3 to 4 weeks. Cooler rooms work, just slower.
- Staying under the brine. Anything poking above the liquid is exposed to air, which is where surface yeast and mold start.
If that sounds manageable, it is. Our mason jar sauerkraut guide walks through a small batch step by step, and Kahm yeast vs mold covers the white film that alarms nearly every beginner at least once.
Canning: two methods, and the line between them
Canning means heating food in sealed jars long enough to destroy the microbes that matter, then letting a vacuum seal keep new ones out. There are two tested methods, and which one you use is not a matter of preference.
The dividing line is acidity, measured as pH. According to the NCHFP, acid foods have a pH of 4.6 or lower. Fruits, jams, jellies, pickles, and sauerkraut sit on that side. Low-acid foods, with a pH above 4.6, include red meats, seafood, poultry, milk, and all fresh vegetables except most tomatoes.
- Acid foods can go in a boiling water bath canner, which holds jars at about 212°F.
- Low-acid foods must go in a pressure canner, which reaches 240 to 250°F at 10 to 15 pounds of pressure.
The reason is Clostridium botulinum. Its spores survive boiling, and in a moist, low-acid, low-oxygen jar they can produce the toxin that causes botulism. Higher heat is what destroys the spores. The CDC is blunt about it: pressure canning is the only recommended method for low-acid foods.
The full breakdown, with a food-by-food table, is in water bath vs pressure canning.
Drying: old, simple, and underrated
Drying preserves food by removing the water that microbes need. It is the oldest method on this list and still one of the most useful, especially for fruit, herbs, and jerky.
You can dry in an oven set low, but a dehydrator is more efficient because it pairs steady low heat with moving air. Penn State Extension suggests starting fruits and vegetables at 145°F while there is surface moisture, then dropping to 135 to 140°F after an hour to finish. Dried vegetables keep best in airtight containers in a dark place, and dried fruit lasts longer in the fridge or freezer.
Two cautions. Meat jerky has its own food safety step (heating to a safe internal temperature), which we will cover in a dedicated jerky guide. And vacuum sealing is a storage aid, not a preservation method on its own. A vacuum-sealed bag of low-acid food at room temperature is a low-oxygen environment, which is exactly what botulism spores like.
Freezing and cold storage
Freezing does not kill bacteria. It stops them from growing. The NCHFP recommends keeping frozen food at 0°F, where most items hold good quality for 8 to 12 months.
For vegetables, blanching (a short dip in boiling water, then ice water) before freezing stops the enzymes that otherwise dull color, flavor, and texture over time. It is an easy win for garden overflow: no special gear, no processing times, no risk of a failed seal.
Cold storage without a freezer, like keeping potatoes, onions, squash, and apples in a cool spot, is a whole topic of its own and gets its own guide later in the year.
Which preserving method should you learn first?
Pick based on what you want to eat and what you already own.
| If you want… | Start with | Why |
|---|---|---|
| The lowest cost and effort | Fermenting | A quart jar, salt, and a cabbage is the whole kit |
| Shelf-stable jam or pickles | Water bath canning | A big stockpot with a rack can work for small batches |
| Shelf-stable vegetables, beans, or meat | Pressure canning | No safe shortcut exists for low-acid foods |
| Snacks and camping food | Drying | Fruit and jerky travel well |
| Zero learning curve | Freezing | Uses the appliance you already have |
Our honest suggestion: make one jar of sauerkraut this week. While it ferments, read up on canning. If you decide you want shelf-stable green beans or chili, that is when a pressure canner earns its place. Our pressure canner buying guide compares dial and weighted gauge models, and if fermenting clicks, the fermentation crock guide covers the step up from jars.
What gear do you actually need to start?
Less than the internet will try to sell you.
For fermenting: wide-mouth mason jars, a kitchen scale that reads in grams, non-iodized salt (canning and pickling salt is ideal), and something to keep the vegetables under the brine. A small jelly jar filled with water works as a weight. Airlock lids and glass weights are nice upgrades, not requirements.
For water bath canning: a pot deep enough to cover jars with at least an inch of boiling water, a rack to keep jars off the bottom, new lids, a jar lifter, and a canning funnel.
For pressure canning: a real pressure canner. The USDA recommends one large enough to hold at least 4 quart jars for its published processes. Electric multicookers with a “canning” button do not qualify; the NCHFP does not support using USDA processes in them.
For drying: a dehydrator with adjustable temperature, or your oven at its lowest setting with the door propped.
Food safety basics that apply to every method
- Start with good produce. Preserving holds quality; it does not create it. Bruised or moldy food makes worse preserved food.
- Measure what the recipe measures. Salt, acid, headspace, and time are safety variables, not flavor suggestions.
- Adjust for altitude. Water boils at lower temperatures as you go up, so canning times and pressures change. Tested recipes include altitude tables.
- Label everything with contents and date.
- When in doubt, throw it out. The CDC advises discarding any canned food from a container that is leaking, bulging, or swollen, or that looks or smells wrong.
The short version
- There are four core ways to preserve food at home: fermenting, canning, drying, and freezing.
- Acid foods (pH 4.6 or lower) can be water bath canned at about 212°F.
- Low-acid foods (pH above 4.6), including nearly all vegetables and all meats, must be pressure canned at 240 to 250°F.
- Sauerkraut ferments best at 70 to 75°F and takes about 3 to 4 weeks at that temperature.
- Extension sauerkraut recipes use about 2 to 2.5 percent salt by weight.
- Frozen food should be held at 0°F; most items keep best quality for 8 to 12 months.
- Fermenting is the cheapest, most forgiving first project.
Where to go next
Start with how to make sauerkraut in a mason jar, then read water bath vs pressure canning before you buy any canning gear. For the source material behind this guide, the National Center for Home Food Preservation and the CDC’s home canning guidance are the two references worth bookmarking.