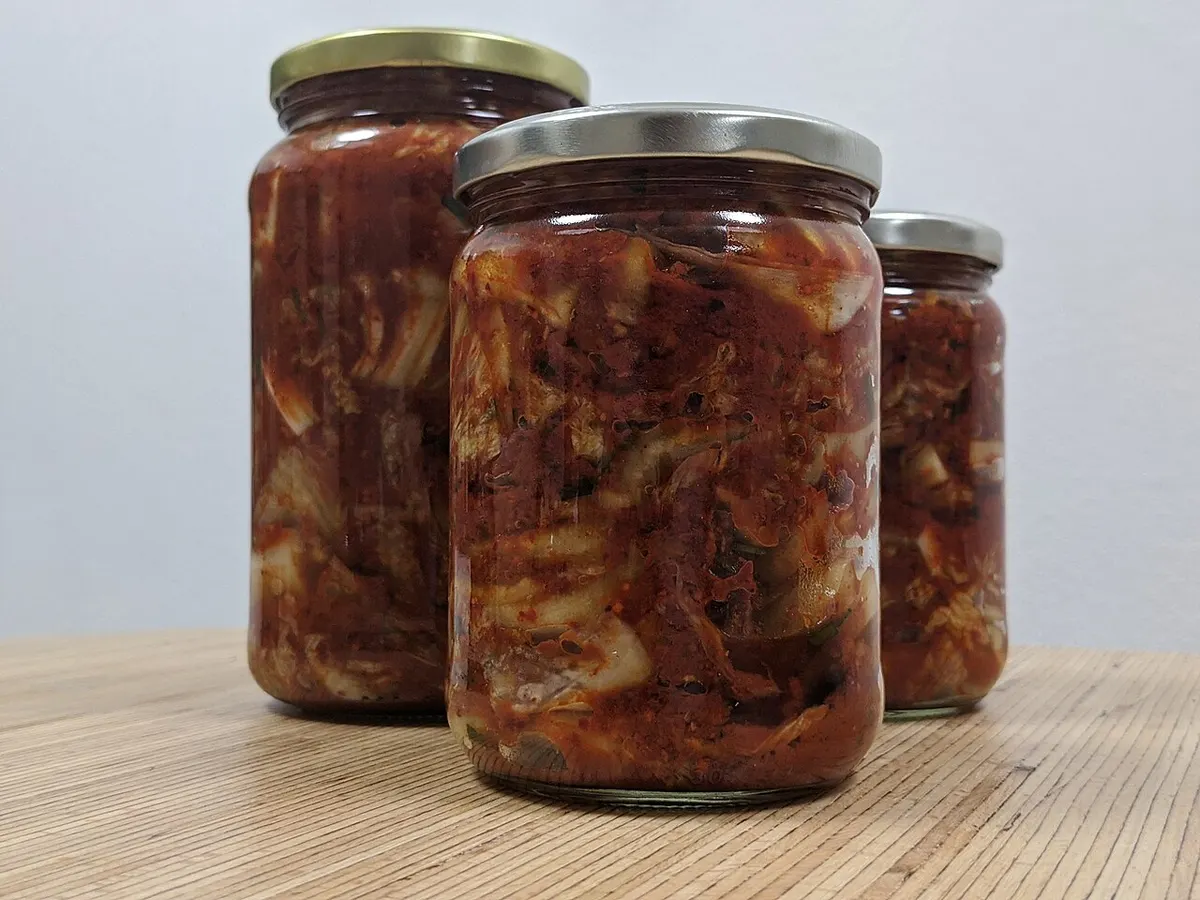
If you can make sauerkraut, you can learn how to make kimchi. Same idea: salt pulls water out of cabbage, the good bacteria already living on the vegetables do the rest. The differences are a two-stage salting, a red pepper paste, and a much faster timeline. Kimchi is ready in days, not weeks.
This guide follows the baechu (napa cabbage) kimchi method published by Colorado State University Extension, with timing and safety numbers cross-checked against Oregon State University Extension and the University of Georgia. Where the sources differ, we tell you.
What you need to make kimchi
The Colorado State recipe makes a full batch from 2 medium heads of napa cabbage, about 6 to 8 pounds total:
| Ingredient | Amount (Colorado State Extension) | Notes |
|---|---|---|
| Napa cabbage | 2 medium heads, 6 to 8 lb | Cored, cut into 2-inch pieces |
| Coarse non-iodized salt | 1 1/2 cups, divided | 1/2 cup for the dip, 1 cup for dry salting |
| Cold water | 1 gallon plus 1/2 cup, divided | Gallon for the dip, 1/2 cup for the rice paste |
| Sweet rice flour | 2 tbsp | Cooked into a thin paste |
| Garlic | 1 to 10 cloves | To taste |
| Fresh ginger | About 3 slices (0.2 to 0.4 oz) | Finely minced |
| Korean red pepper powder (gochugaru) | 1 cup | Use less for milder kimchi |
| Korean radish | 1/2 radish, 1 to 1.5 lb | Julienned |
| Green onions | 10 | Cut into 1-inch pieces |
| Asian pear | 1, optional | Julienned |
| Fish sauce | 1 tsp, optional | Leave out for a vegetarian batch |
Want a smaller first batch? Oregon State’s Kimchi Basics includes recipes built on 2 pounds of napa cabbage, which yields about 1 quart. Follow that recipe as written rather than scaling the big one by eye.
Gochugaru is the one ingredient most grocery stores don’t stock. Asian markets carry it, or you can see current listings. Get the coarse grind made for kimchi.
How do you salt napa cabbage for kimchi?
This is the step that makes kimchi kimchi, and it’s different from sauerkraut. Instead of salting by weight and keeping all the brine, you salt heavily, wait, then rinse most of the salt away.
- Prep. Rinse the heads, trim damaged spots, quarter them, cut out the cores, and chop into 2-inch pieces.
- Dip. Stir 1/2 cup coarse salt into 1 gallon of cold water. Dip the cabbage pieces briefly, then drain.
- Dry salt. Sprinkle 1 cup coarse salt over the cabbage and massage it in well. Cover and leave at room temperature for 3 to 6 hours.
- Rinse and drain. Rinse the cabbage 3 to 4 times in cold water, then drain in a colander for at least 30 minutes.
The cabbage should come out limp and bendable, a rib folding without snapping. The University of Georgia’s version uses a shorter rest, massaging every 30 minutes for 2 hours, which shows there’s more than one tested route. Pick one recipe and follow it all the way through.
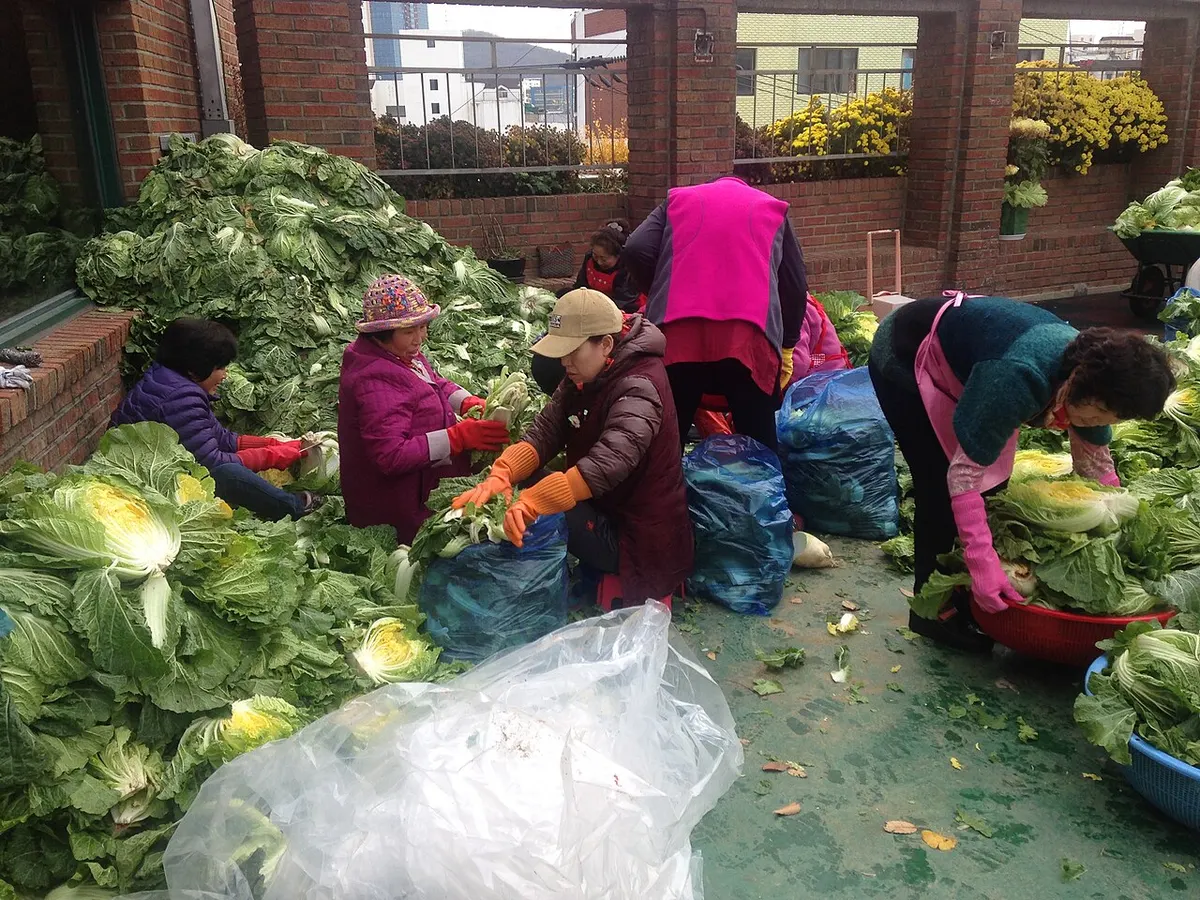 Kimjang, the traditional autumn kimchi-making season, is a reminder that this is a cabbage-heavy job. Photo: Manju Shakya, CC BY-SA 4.0, via Wikimedia Commons
How to make the kimchi seasoning paste
While the cabbage drains:
- Whisk the sweet rice flour into 1/2 cup water in a small saucepan. Bring to a boil, then let it cool completely.
- Finely mince the garlic and ginger. Stir them into the cooled rice paste with the red pepper powder.
- Julienne the radish, green onions, and Asian pear (if using) into matchsticks about 1 inch long.
- Mix the vegetables into the paste. Add the fish sauce, and a little fine salt if you want it, to taste.
The rice paste isn’t a thickener for its own sake. It helps the pepper cling to every leaf. Wear food-safe gloves for the next step unless you enjoy rubbing your eyes with chili hands.
Step by step: mixing and packing the jar
- Combine. Add the drained cabbage to the paste and rub it together until every piece is coated.
- Pack tightly. Press the kimchi into your container to push out air. Colorado State says to fill it only about two-thirds full so the carbon dioxide has room to go. Oregon State’s quart-jar recipe calls for at least 2 inches of headspace.
- Cover loosely. Set a jar lid on without over-tightening, so gas can escape. If you’re using a zip-top bag, squeeze out the air and set it on a plate to catch overflow.
- Keep it submerged. Check daily and press the vegetables back under the liquid.
Containers matter. NC State Extension’s food safety program, which republishes the Colorado State recipe, warns against metal containers and damaged earthenware. Glass jars and food-grade plastic are the easy choices.
Pantry pick: Ball Wide Mouth Half Gallon Mason Jars (3 Pack)

At 64 ounces each, two-thirds full leaves the headroom Colorado State asks for, and the wide mouth lets you get a fist in to press the kimchi down. A full 6 to 8 pound batch shrinks a lot after salting, so three jars is a sensible starting set. This pick is based on Ball's listed specs and owner review patterns, not hands-on use. Glass also won't hold onto the red stain and garlic smell the way plastic can.
How long does kimchi take to ferment?
Much faster than sauerkraut. Here is what the extension sources say:
| Where it ferments | Timing | Source |
|---|---|---|
| Counter, around 68°F | 1 to 2 days, tasting daily, then refrigerate | Colorado State Extension |
| Counter, 68 to 72°F | 24 to 36 hours, then refrigerate | Oregon State (Newell recipe) |
| Counter, loosely covered | First 48 hours; tangier and softer by days 5 to 7 | University of Georgia Extension |
| Refrigerator only | Ferments slowly over 3 to 4 days | Colorado State Extension |
Bubbles in the first 1 to 2 days are normal, and so is the liquid rising. That’s carbon dioxide from the lactic acid bacteria, mainly Weissella and Lactobacillus species, which are already on the raw vegetables. No starter culture needed.
Once it tastes pleasantly sour, it goes in the fridge, where fermentation keeps going slowly. The University of Georgia says storing it at 41°F or below helps with both safety and quality.
What pH should kimchi reach?
Colorado State Extension says kimchi should reach a pH of 4.6 or below before you eat it, and recommends testing daily with pH strips that read from 3.0 to 5.5. Oregon State cites an optimum kimchi pH of about 4.2. The University of Georgia notes that the pH falls below 4.6 at roughly 2 weeks in its method.
For a sense of speed, the BC Centre for Disease Control’s guideline for kimchi makers says pH should drop to about 4.6 or lower in 2 days at 20°C (68°F), and within 4 days under refrigeration.
You don’t need a meter. A roll of narrow-range test paper is cheap, and it turns “smells sour, probably fine” into an actual number.
Pantry pick: Hydrion Short Range pH Paper, 3.0 to 5.5

This roll covers exactly the 3.0 to 5.5 range Colorado State recommends for checking kimchi, with the 4.6 line sitting comfortably in the middle. Dip a strip in the brine, not the paste, and compare it to the color chart. Based on the manufacturer's listed range and owner review patterns. Paper strips read in steps, so treat a borderline result as "wait another day."
How long does homemade kimchi last in the fridge?
The sources disagree here, mostly because they’re measuring quality, not safety:
- Colorado State: for best quality, eat within 2 weeks.
- Oregon State Kimchi Basics: best eaten within 1 week, because quality slips with longer fermentation. Its Newell recipe says it can be stored in the refrigerator up to 6 months.
Translation: kimchi gets more sour and softer the longer it sits. Older kimchi is what cooks reach for in stews and fried rice. Keep it tightly covered, pressed down under its liquid, and always use a clean utensil.
Pantry pick: E-Jen Kimchi Container, 1.3 Gallon (5.2 L)

A dedicated kimchi box makes sense once you're making full batches. The inner lid presses down on the surface to keep air off the kimchi, which is the daily chore the extension sources ask for. The "earthenware" in the listing describes the color, not the material. Based on the manufacturer's description and owner review patterns; the common complaint is the plastic taking on the smell, which comes with the territory.
Kimchi vs sauerkraut: what’s different?
| Kimchi (Colorado State method) | Sauerkraut (NCHFP method) | |
|---|---|---|
| Cabbage | Napa, in 2-inch pieces | Green head cabbage, finely shredded |
| Salting | Heavy salt, 3 to 6 hours, then rinsed | Salt by weight, brine kept |
| Seasoning | Red pepper, garlic, ginger, radish, green onion | Usually just salt |
| Counter time | About 1 to 2 days | About 3 to 4 weeks at 70 to 75°F |
| Storage | Refrigerated | Refrigerated, or canned with a tested process |
That last row matters. We could not find a tested home canning process for kimchi from the USDA, the NCHFP, or the extension sources we checked, so we don’t provide one. Keep kimchi in the fridge.
Signs your kimchi has gone bad
Sour, garlicky, fizzy, and a little funky is normal. The University of Georgia says to throw it out if you see mold, smell an off odor that’s different from its usual fermented aroma, or notice an unusual texture. NC State Extension likewise says to discard kimchi with signs of surface mold. If you’re not sure whether a film is harmless yeast, our kahm yeast vs mold guide walks through the difference.
One allergy note from the University of Georgia: fish sauce and shrimp paste are common in kimchi, so label jars you share.
The short version
- Kimchi uses napa cabbage salted in two stages: a brief dip in 1/2 cup salt per gallon of water, then 1 cup dry salt for 3 to 6 hours, then 3 to 4 rinses.
- Colorado State’s full batch uses 6 to 8 pounds of napa cabbage and 1 cup of Korean red pepper powder.
- Fill jars only about two-thirds full and leave lids loose so gas can escape.
- Ferment on the counter at around 68°F for 1 to 2 days, or in the refrigerator for 3 to 4 days.
- Kimchi should reach pH 4.6 or below before eating; test with 3.0 to 5.5 pH strips.
- Store at 41°F or below. For best quality, eat within 1 to 2 weeks; it stays edible longer but gets more sour.
- There is no tested home canning process for kimchi. Keep it refrigerated.
Keep going
New to fermenting? Start with our beginner’s roadmap to preserving food at home, then try the slower, simpler cousin of kimchi in how to make sauerkraut in a mason jar. If you’d rather not burp jars at all, see the best fermentation lids for mason jars.
Sources for this guide: Colorado State University Extension’s Understanding and Making Kimchi, Oregon State University Extension’s Kimchi Basics, and the University of Georgia’s Homemade Kimchi: A Science-Based Guide to Safe Fermentation.