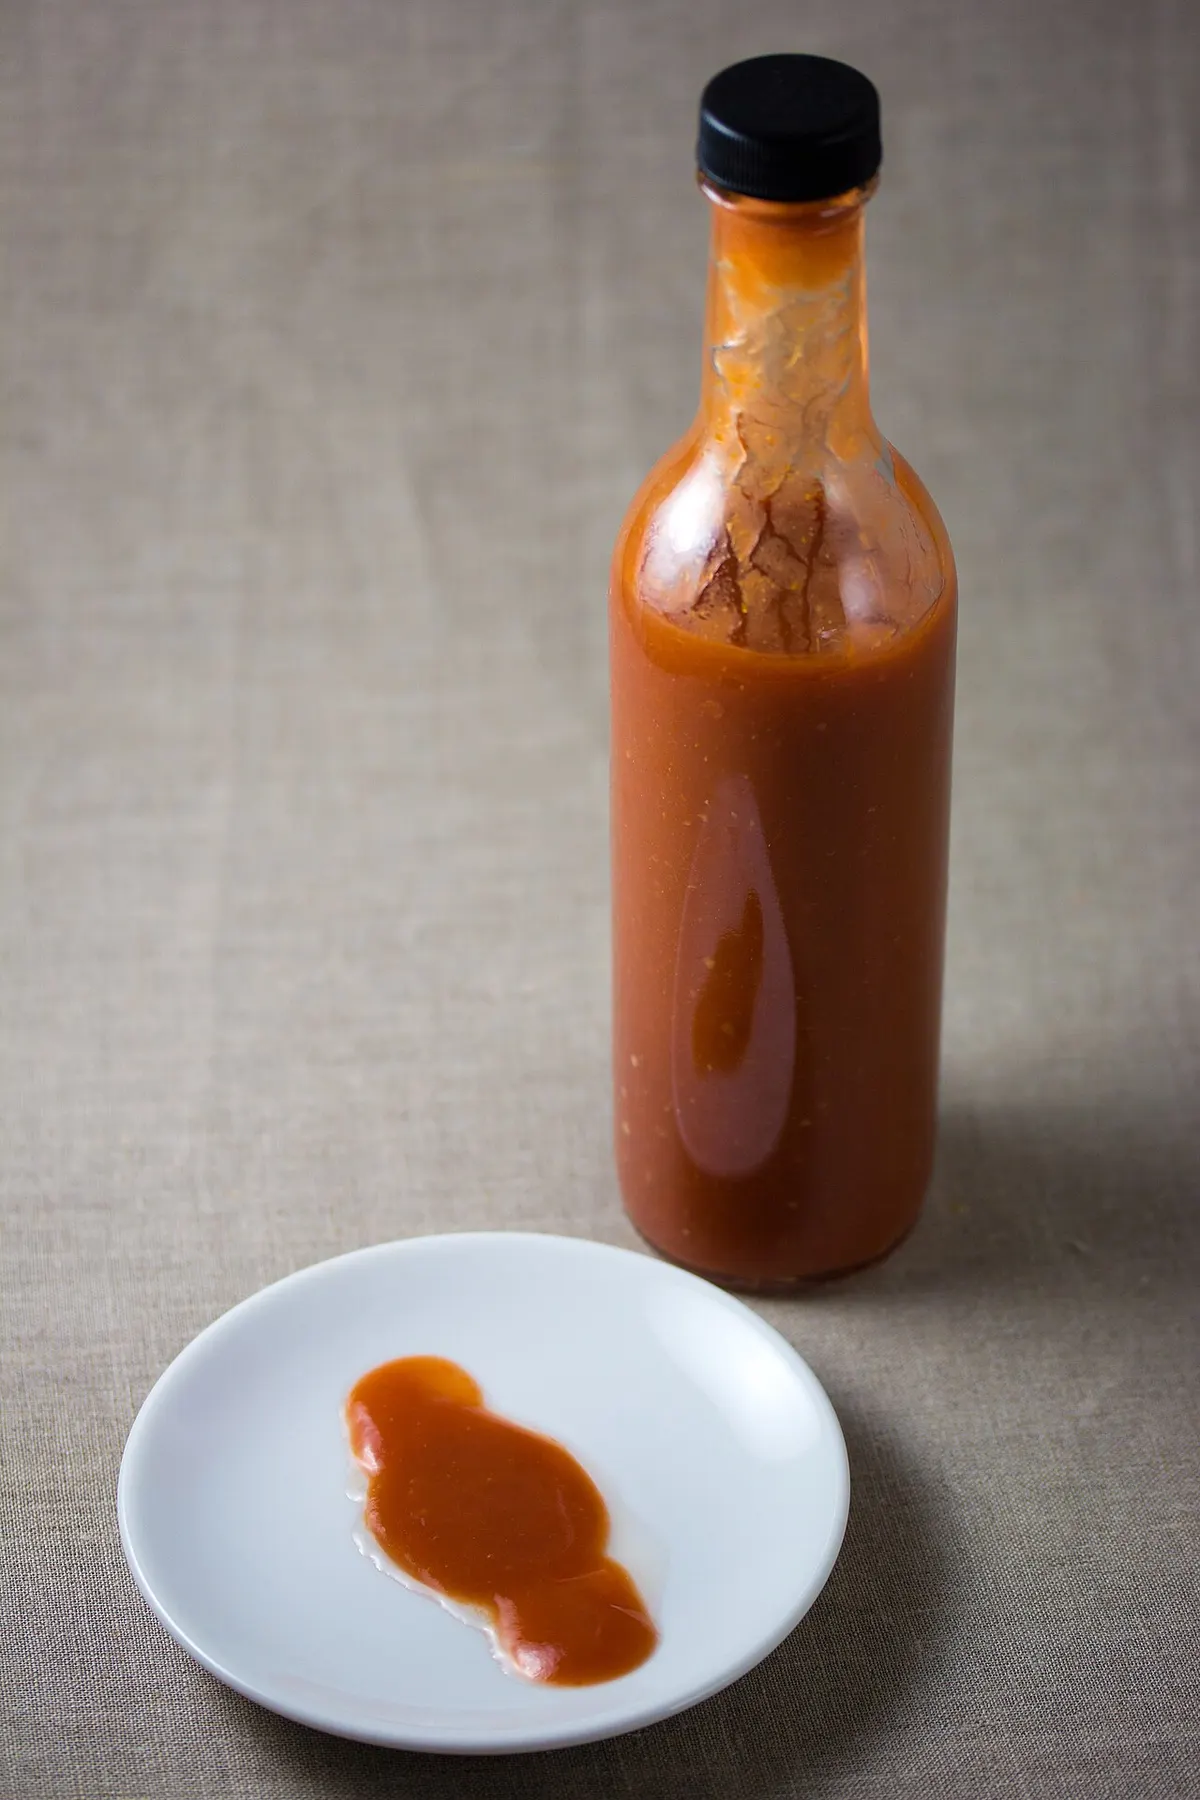
To make fermented hot sauce, you salt chopped peppers (a mash) or submerge them in salt water (a brine), let lactic acid bacteria sour them at cool room temperature for about a week to a few weeks, then blend, add vinegar, strain if you like, bottle, and refrigerate. That’s the whole process. The details that matter are how much salt, how warm, how long, and what “shelf stable” does and does not mean for a homemade sauce.
One thing up front: there is no USDA or NCHFP tested recipe for fermented hot sauce. An Oregon State University Extension educator said exactly that when asked. So this guide sticks to what extension sources do publish (salt guidance for peppers, an extension fermented hot sauce recipe, and the pH rules) and is clear about where the tested ground ends.
Mash vs brine: which fermented hot sauce method should you use?
Both methods use the same bacteria and end in the same blender. They differ in how the salt gets to the peppers.
| Pepper mash | Brine | |
|---|---|---|
| How it works | Peppers are chopped or blended with salt; their own juice becomes the brine | Whole or chopped peppers are covered with salt water |
| Salt is measured against | Pepper weight | Water weight |
| Extension reference | Oregon State: 2 lb chiles to 6 tbsp kosher salt | Kansas State: about 2 tsp salt per cup of water for peppers |
| Fermentation time | 5 to 7 days in the Oregon State recipe, plus a few more days after vinegar | Several weeks is typical for brined vegetables (Kansas State) |
| Flavor | Thicker, more concentrated pepper flavor | Thinner sauce; you can blend in some brine to adjust |
| Surface to watch | Large, exposed surface on a thick paste | Peppers float; they need a weight |
| Best for | Small batches, very hot peppers, thick sauces | Beginners, whole peppers, garlic and onion added in chunks |
If you have made sauerkraut in a mason jar, a mash will feel familiar: salt goes on, juice comes out. If you have made brined pickles, the brine method is the same idea with hotter cucumbers.
How much salt do you need for fermented hot sauce?
Salt does the selecting. NCHFP explains that salt favors the lactic acid bacteria and suppresses the others, and says plainly not to cut back the salt in fermented pickles or sauerkraut. Use canning or pickling salt, or weigh whatever salt you have, because spoon measures of different salts hold very different weights.
For the brine method: Kansas State Research and Extension gives a standard brine of 1 teaspoon of salt per cup of water, and says high-water vegetables “such as cucumbers or peppers, require a stronger brine,” about 2 teaspoons per cup. That works out to roughly a 5 percent brine. In grams:
| Water | Salt for about 5% brine |
|---|---|
| 1 cup (237 g) | 12 g (about 2 tsp canning salt) |
| 1 pint (473 g) | 24 g |
| 1 quart (946 g) | 47 g |
| 1 liter (1,000 g) | 50 g |
For the mash method: the Oregon State Extension fermented hot sauce recipe blends 2 pounds of red chiles (Fresno, cherry peppers, or Hungarian wax) and 4 garlic cloves with 6 tablespoons of kosher salt. Kosher salt brands differ a lot in how much fits in a tablespoon, so by weight that lands somewhere around 5 to 10 percent of the pepper weight depending on the box. That is noticeably saltier than a 2 percent kraut, which is why the recipe adds sugar and vinegar at the end and tells you to taste and adjust.
Step by step: the pepper mash method
This follows the Oregon State Extension recipe, with the safety habits from NCHFP and Kansas State layered on.
- Prep. Wear gloves. Capsaicin on your hands ends up in your eyes eventually, and extension canning guides warn about exactly that. Stem, seed if you like, and coarsely chop 2 pounds of red chiles. Smash 4 garlic cloves.
- Blend with salt. Puree the chiles, garlic, and 6 tablespoons of kosher salt in a blender.
- Jar it. Pour the puree into a very clean glass jar. Leave room at the top, since active ferments bubble and rise.
- Cover loosely. Oregon State covers the jar with a paper towel held by a rubber band or jar ring. An airlock lid does the same job with less exposure to fruit flies.
- Ferment 5 to 7 days. Warmer kitchens go faster. Stir or press the surface down daily so the top doesn’t dry out.
- Add sugar and vinegar. Stir in 6 tablespoons of sugar and 3/4 cup of vinegar (the recipe suggests apple cider or coconut vinegar) and let it go a few more days.
- Taste, strain, bottle, refrigerate. Adjust salt and sugar, strain through a fine sieve if you want a pourable sauce, bottle it, and keep it in the fridge. Oregon State says it is best used within six months and that the heat mellows with age.
Step by step: the brine method
The extension sources do not publish a brined hot sauce recipe, so this is the general vegetable brining method from Kansas State applied to peppers, using their stronger brine for peppers.
- Pack the jar. Halve or slit peppers so brine gets inside (whole peppers float and ferment unevenly). Add garlic, onion, or carrot in chunks if you want.
- Mix the brine. About 2 teaspoons of salt per cup of water, or 47 grams per quart. Stir until dissolved.
- Cover completely. Pour brine over the peppers and keep them submerged with a weight. Kansas State notes that too much headspace leaves room for oxygen and surface growth, so fill sensibly and weigh things down.
- Ferment. Kansas State says a slower ferment at 60 to 70°F gives better results than a warm one, and that brined vegetables generally take several weeks. You are looking for steady bubbling that slows down, a clean sour smell, and a cloudy brine.
- Blend. Drain, reserving the brine. Blend the peppers with enough brine (or vinegar, or both) to reach the thickness you want.
- Finish and refrigerate. Strain if you want, bottle, and refrigerate.
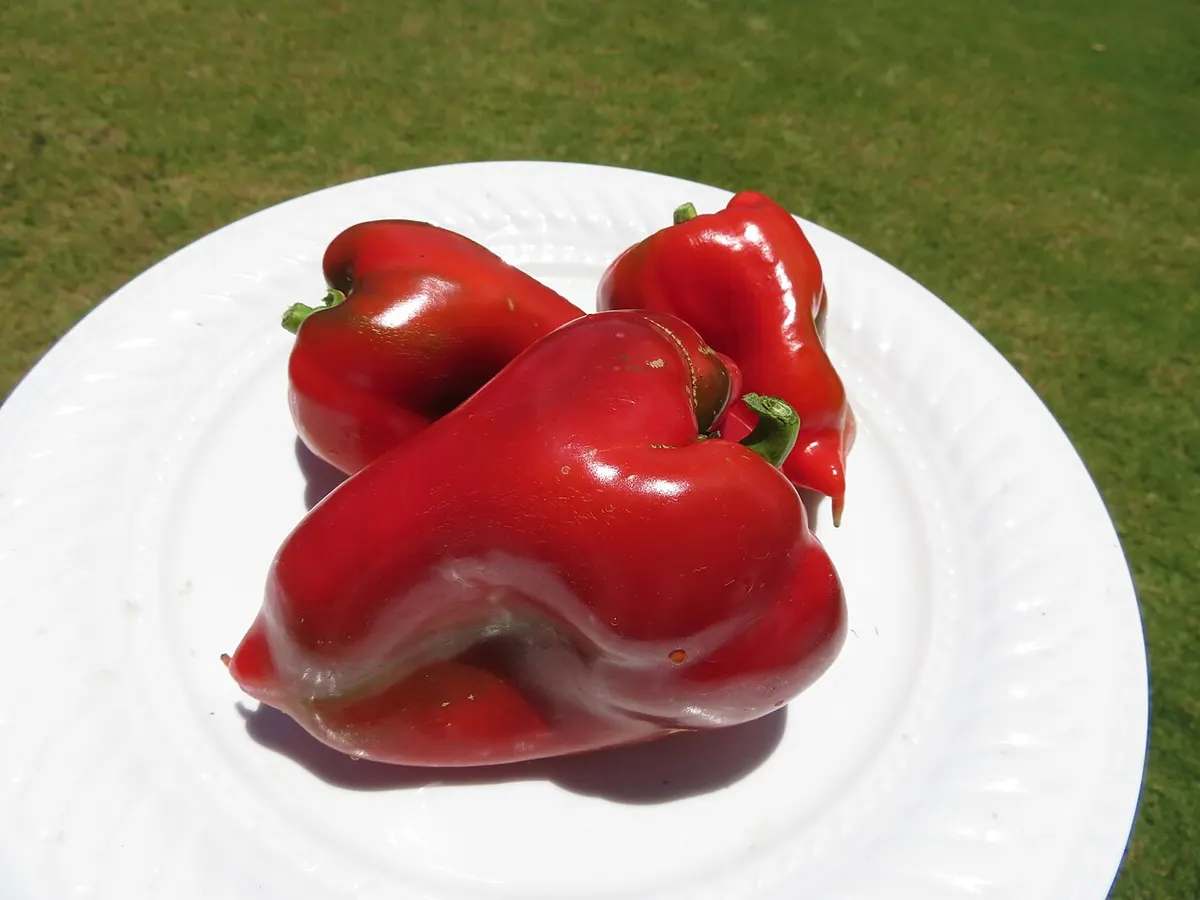 Photo: Forest and Kim Starr, CC BY 2.0, via Wikimedia Commons
Red sweet peppers like these are a common way to stretch a batch of very hot peppers. They ferment the same way, add body and color, and turn a sauce that only a few people can eat into one the whole table can.
What temperature should you ferment hot sauce at?
Neither NCHFP nor the extension services publish a temperature range specifically for hot sauce, so the best reference is their vegetable ferments:
| Source | Product | Guidance |
|---|---|---|
| Kansas State | Fermented vegetables in general | 60 to 70°F gives better results than warmer temperatures |
| NCHFP | Fermented dill pickles | 70 to 75°F for 3 to 4 weeks; 55 to 65°F works but takes 5 to 6 weeks; avoid above 80°F |
| NCHFP and Kansas State | Sauerkraut | Below 60°F may not ferment; above 75°F may soften |
For hot sauce, softening is not a problem (it is going in a blender), but heat still speeds up yeasts and molds along with the bacteria you want. A spot in the mid 60s to low 70s is the comfortable middle.
Pantry pick: Masontops Pickle Pipes Airlock Lids
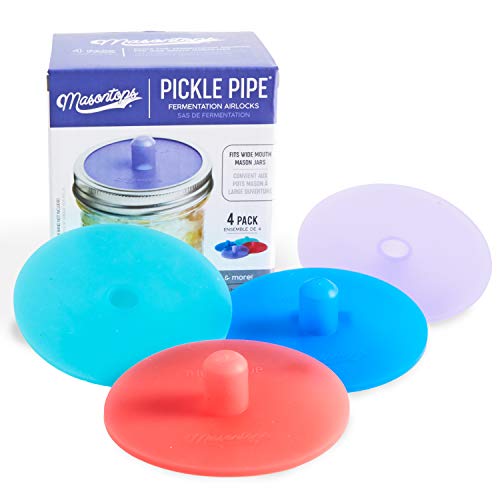
A mash sits with a big exposed surface for a week, which is an open invitation to fruit flies. These one-piece silicone lids let carbon dioxide out without letting much air in, and they fit wide mouth mason jars (the jar is not included). Owner reviews mostly praise the no-burping convenience; the recurring complaint is that the silicone can hold on to strong smells, which matters more after a habanero batch than a kraut batch. This pick is based on the manufacturer's listing and owner review patterns, not hands-on use.
Pantry pick: Glass Fermentation Weights for Wide Mouth Jars

For the brine method, peppers float. A glass weight sized for wide mouth jars keeps them under the brine, and the handle makes it easier to fish out without a pepper-scented finger. Glass is nonporous and does not react with acidic brine. This pick is based on the product listing and owner review patterns, not hands-on use. More options are in our fermentation weights guide.
Do you need to add vinegar to fermented hot sauce?
You do not need it for the ferment itself. You add it for three practical reasons:
- Flavor and acidity. Vinegar adds sharpness and lowers the pH further than the ferment alone may get.
- It slows things down. A blended, unvinegared mash in a bottle can keep fermenting and build pressure. Vinegar and cold storage both slow that.
- The extension recipe does it. Oregon State adds 3/4 cup of vinegar per 2 pounds of chiles.
What vinegar does not do is turn a homemade fermented sauce into a tested shelf-stable product. South Dakota State University Extension’s hot sauce guidance makes the line clear: Clostridium botulinum cannot grow below pH 4.6, a hot sauce’s pH needs to be tested, and for home canning you should use only approved, tested recipes such as those from NCHFP or recent Ball books. SDSU also notes that putting a sauce through a boiling water bath can change its risk profile, so canning a recipe that was never tested is not a shortcut to safety.
Is fermented hot sauce shelf stable?
Treat it as a refrigerated product. Here is how the options compare:
| Approach | Tested process? | Where to store |
|---|---|---|
| Fermented hot sauce (mash or brine), vinegar added | No tested process exists | Refrigerator; Oregon State says best within 6 months |
| Fermented hot sauce, no vinegar | No tested process exists | Refrigerator, and expect it to keep slowly fermenting |
| NCHFP Cayenne Pepper Sauce (cooked, vinegar based, not fermented) | Yes | Pantry, after boiling water processing and a confirmed seal |
If you want a hot sauce for the pantry shelf, use the NCHFP Cayenne Pepper Sauce instead of canning your ferment. It uses 3 pounds of hot peppers, 1/3 cup minced garlic, 4 cups sliced onion, 1/3 cup chopped cilantro, three 28 ounce cans of diced tomatoes, 3 cups of 5 percent cider vinegar, and 2 1/2 cups of water. Everything boils for an hour, simmers for another hour, gets pureed, and is brought back just to a boil. Fill hot pint jars with 1/2 inch headspace and process in a boiling water canner for 10 minutes at 0 to 1,000 feet, 15 minutes at 1,001 to 6,000 feet, and 20 minutes above 6,000 feet. If water bath canning is new to you, start with water bath vs pressure canning.
Should you check the pH?
For a refrigerated home sauce, a pH check is a useful habit rather than a legal requirement. SDSU and Oregon State both make pH testing mandatory for anyone selling hot sauce, which tells you how seriously the extension world takes the 4.6 line. Short range test strips are a cheap way to see where a batch lands. They are less precise than a calibrated pH meter, and a strip reading does not make an untested recipe safe for room temperature storage.
Pantry pick: Hydrion Short Range pH Test Paper (3.0 to 5.5)

This dispenser roll reads from pH 3.0 to 5.5, which brackets the 4.6 line that matters for low-acid foods, and costs a fraction of a meter. The usual owner complaint is that strongly colored liquids (a red pepper sauce is one) make the color match harder to read; diluting a small sample in distilled water is a common workaround. This pick is based on the manufacturer's listed range and owner review patterns, not hands-on use.
Kahm yeast, mold, and when to throw a batch out
A white film on a pepper ferment is usually kahm yeast, and NCHFP’s own guidance for fermented pickles is to check several times a week and skim off surface scum or mold promptly. Fuzzy, raised, or colored growth is a different matter. Our kahm yeast vs mold guide walks through how to tell them apart.
The NCHFP rule for fermented pickles transfers cleanly: if the batch turns soft and slimy or develops a disagreeable odor, discard it. A good ferment smells sour and peppery. It should not smell rotten, and it should not be slimy.
How do you bottle fermented hot sauce?
Woozy bottles (the classic narrow hot sauce bottle) with orifice reducer inserts are the standard. The reducer turns a pour into a dash, which is the difference between seasoning eggs and ruining them. Funnel the sauce in, cap, label with the date, and refrigerate. Leave a little headspace in case fermentation continues.
Pantry pick: GUANENA 5 oz Woozy Hot Sauce Bottles (35 Pack)

Thirty five 5 ounce glass woozy bottles with black screw caps, dripper inserts, shrink capsules, labels, and a funnel, according to the listing. That is enough for several batches or a stack of holiday gifts. Owner reviews tend to praise the inserts and caps; the occasional complaint is a broken bottle in shipping, so count them when the box arrives. This pick is based on the product listing and owner review patterns, not hands-on use.
If you want a smaller pack or a different cap color, see current listings.
The short version
- Fermented hot sauce is made by salting peppers as a mash or covering them with brine, fermenting, then blending, adding vinegar, and refrigerating.
- There is no USDA or NCHFP tested recipe for fermented hot sauce, so it is a refrigerated product.
- Kansas State Extension calls for a stronger brine for peppers: about 2 teaspoons of salt per cup of water, roughly 5 percent, or 47 grams per quart.
- The Oregon State Extension mash recipe uses 2 pounds of red chiles, 4 garlic cloves, and 6 tablespoons of kosher salt, fermented 5 to 7 days, then 6 tablespoons of sugar and 3/4 cup of vinegar.
- Ferment in the 60s to low 70s °F. NCHFP says to avoid temperatures above 80°F for fermented pickles.
- C. botulinum cannot grow below pH 4.6 (SDSU Extension). Vinegar helps, but only a tested recipe makes a canned hot sauce shelf stable.
- For a pantry hot sauce, use NCHFP’s Cayenne Pepper Sauce: pints, 1/2 inch headspace, 10 minutes in a boiling water canner up to 1,000 feet.
Keep going
Now that you know how to make fermented hot sauce, the same skills carry straight across. The sauerkraut in a mason jar guide is our fermenting home base, the fermentation salt ratio guide turns any brine into grams, and our fermentation lids guide compares airlocks for jars. New to all of it? Start with the beginner’s roadmap to preserving food at home.
Sources for this guide: Oregon State University Extension’s fermentation recipes handout (Fermented Hot Sauce); Kansas State Research and Extension’s Taking a New Look at Fermented Foods; SDSU Extension’s How to Make a Safe Hot Sauce; Ask Extension’s answer on tested fermented hot sauce recipes; and NCHFP’s Cayenne Pepper Sauce, Dill Pickles, and General Information on Fermenting.