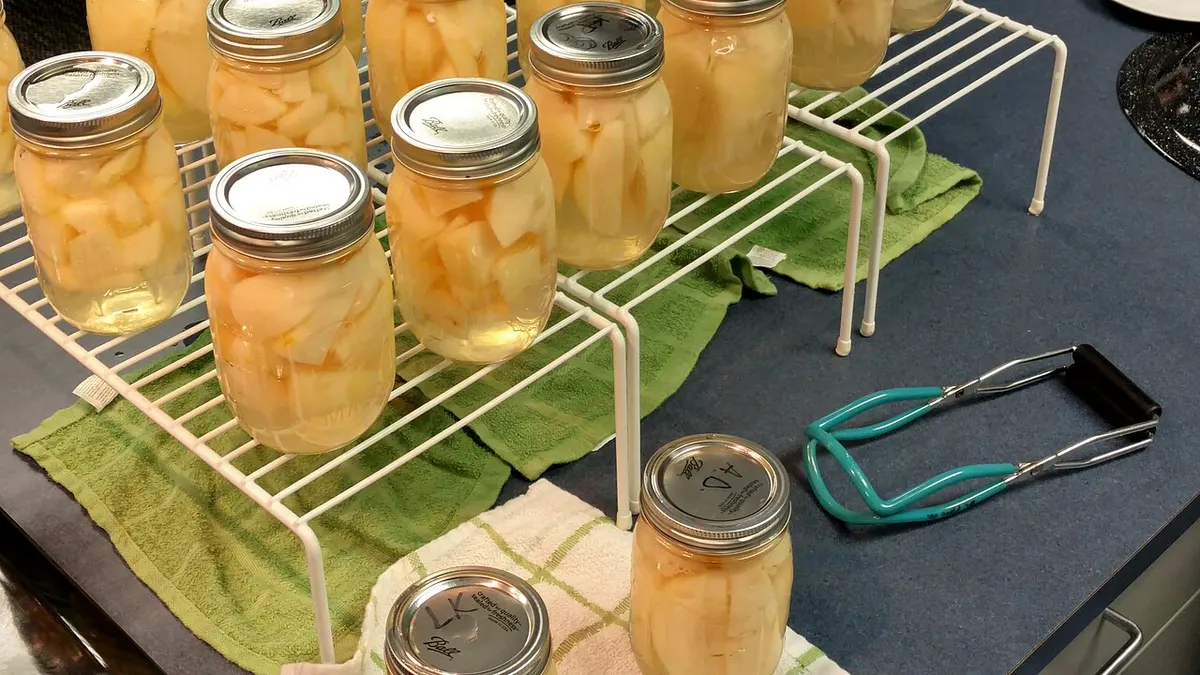
A good canning supplies list is shorter than the canning aisle suggests. For a first batch of jam, applesauce, or pickles in a boiling water canner, you need eight things, and you may already own three of them.
This checklist sorts the essentials from the nice-to-haves, gives real starter costs, and flags the equipment rules that come from tested sources: the National Center for Home Food Preservation (NCHFP), Oregon State University Extension, and University of Missouri Extension. Our product picks are based on manufacturer specifications, those extension guidelines, and patterns in owner reviews. We have not used or bought any of them.
What supplies do you need to start canning?
Here is the full canning supplies list for a first water bath batch. “Must have” means the process depends on it. “Nice to have” means it makes the day easier.
| Item | Must have or nice to have | Why it matters | Budget option |
|---|---|---|---|
| Boiling water canner or deep stockpot | Must have | Needs at least 1 inch of boiling water over the jar tops | A stockpot you own, if deep enough |
| Canner rack | Must have | Keeps jars off the bottom of the pot | A rack that fits your stockpot |
| Mason-type canning jars | Must have | Made for repeated heating; commercial jars break more | Jars that include lids and bands |
| New flat lids | Must have | Sealing compound works once | A multi-pack sized to one year of use |
| Screw bands | Must have | Hold lids during processing | Reuse bands that are not rusted or bent |
| Jar lifter | Must have | Moves hot jars upright without slipping | Basic spring-loaded lifter |
| Plastic bubble remover or spatula | Must have | Releases trapped air; metal can scratch glass | A plastic spatula or chopstick |
| Timer and clean towels | Must have | Timing starts at a full boil; jars cool on a towel | Phone timer, kitchen towels |
| Canning funnel | Nice to have | Keeps rims clean for a good seal | A wide funnel with a collar |
| Magnetic lid lifter | Nice to have | Lifts lids without fingers on the sealing surface | Tongs work |
| Headspace ruler | Nice to have | Measures the gap under the lid | A clean ruler |
| Pressure canner | Only for low-acid foods | Vegetables, meat, and poultry need it | Skip it until you can vegetables |
The last row is the big decision. Fruit, jams, pickles, and properly acidified tomatoes go in a boiling water canner. Plain vegetables, meat, poultry, and fish need a pressure canner. Our guide to water bath vs pressure canning explains the pH 4.6 line that decides it.
Do you need a special canner, or will a stockpot work?
A stockpot works if it meets the same rules as a canner. University of Missouri Extension and Oregon State Extension agree on the requirements:
- Deep enough for at least 1 inch of briskly boiling water over the tops of the jars. Add room for the rack and for the boil itself, which is why a pot that looks tall enough often is not.
- A rack that holds jars off the bottom.
- A lid that fits.
- Sized to your stove. On electric burners, the canner should be no more than 4 inches wider than the element.
A flat bottom works best on electric ranges; flat or ridged works on gas. On glass or induction cooktops, check the cooktop manufacturer’s guidance before you buy, because some canners and some stoves do not get along.
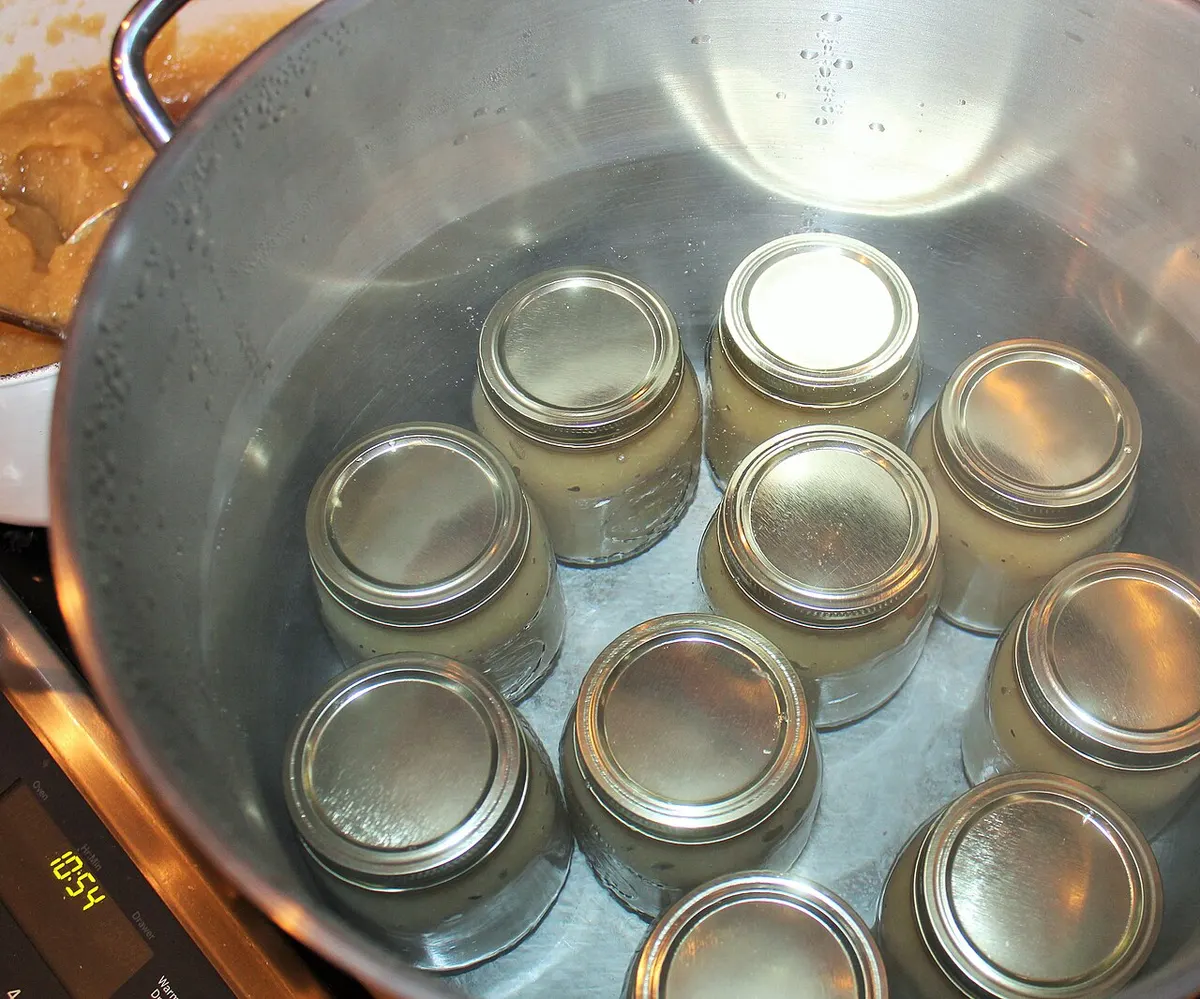 Photo: Nutrition, Food Safety & Health, CC0, via Wikimedia Commons
Pantry pick: Harvest Stainless Steel 20-Quart Canning Pot

A dedicated canner that solves the depth and rack questions in one purchase. The manufacturer lists a flat clad base for induction, glass, and gas cooktops, room for 7 quart or 8 pint jars, and a reversible rack for water bath or steam canning. The tradeoff is price: an enamel canner costs less, but many enamel canners are not rated for glass or induction stoves.
What about electric canners and multicookers?
NCHFP does not recommend its canning processes for electric multicookers, including electric pressure cookers, because no USDA thermal process work has been done with jars inside them. NCHFP makes one named exception: the Ball Automatic Home Canner, for acid foods only, which had thermal process development done specific to that appliance and comes with its own instructions. A multicooker with a “canning” button is not on that list.
Which canning jars should you buy?
Oregon State Extension recommends standard Mason-type jars made for home canning, in regular or wide mouth. For a first batch, pints are the most useful size. Most tested recipes include them, and 8 pints is a comfortable first load.
A few jar rules worth knowing before you shop:
- Half-gallon jars have tested processes only for apple and grape juice, per NCHFP. Skip them for canning.
- Commercial mayonnaise or salad dressing jars are a gamble. Oregon State says they may go in a boiling water canner but never a pressure canner, and NCHFP lists commercial food jars as a common cause of breakage.
- Chipped or cracked jars go in the recycling, not the canner. Run a finger around every rim before filling.
- Antique jars with wire bails, glass caps, or zinc lids are for display only.
Jars do not need to be sterilized if they will be processed for 10 minutes or more in a boiling water canner, or in a pressure canner, per NCHFP. They do need to be clean and hot when you fill them.
Pantry pick: Ball Regular Mouth Pint Jars, 8 Count

Eight 16-ounce regular mouth jars with lids and bands, which covers one full load in a canner like the Harvest above. Regular mouth pints fit most jam, applesauce, and pickle recipes, and the included lids handle your first batch. Ball jars are made for home canning, which is the one spec that matters here.
Can you reuse canning lids and rings?
Rings, yes. Flat lids, no.
NCHFP is direct about it: lids should not be used a second time, because the sealing compound is indented by the first use and may not form another airtight seal. Screw bands can be reused unless they are badly rusted or the top edge has been pried up.
Lid rules from Oregon State and Missouri Extension:
- Buy only as many lids as you will use within a year.
- Do not use lids that are dented, deformed, or have gaps in the sealing compound.
- Follow the preparation directions on the lid box, since they change as sealing compounds change.
- Do not retighten bands after processing. Remove bands once jars have cooled, then wash and dry them.
Reusable two-piece lids with rubber gaskets exist. Missouri Extension notes NCHFP cannot recommend them because of a lack of research, though there is also no data showing they fail when used exactly as the manufacturer directs. For a first season, single-use lids keep things simple.
Pantry pick: Ball Regular Mouth Lids, 6 Packs of 12

Seventy-two regular mouth flat lids, about 42 cents per lid at this price. That is nine loads of 8 pints, which is a realistic first year. Lids only, no bands, so pair it with jars that come with bands. If you can less often, buy a smaller pack; extension guidance is to buy only what you will use within a year.
Which small canning tools are worth buying?
Only one small tool is close to essential: the jar lifter. Missouri Extension says to grip jars securely below the neck, below the band, and keep them upright. Kitchen tongs slip on wet glass, and a dropped jar of boiling jam is the kind of lesson nobody needs twice.
After that, the order of usefulness:
- Funnel. Keeps food off the rims, and a clean rim is what seals.
- Plastic bubble remover. Missouri Extension specifies a flat plastic spatula, not metal, since metal can scratch and weaken the jar. A chopstick works.
- Magnetic lid lifter. Handy, not required.
- Headspace ruler. Many bubble tools have one built in; a clean ruler does the same job.
Pantry pick: PrepWorks Canning Essentials Set
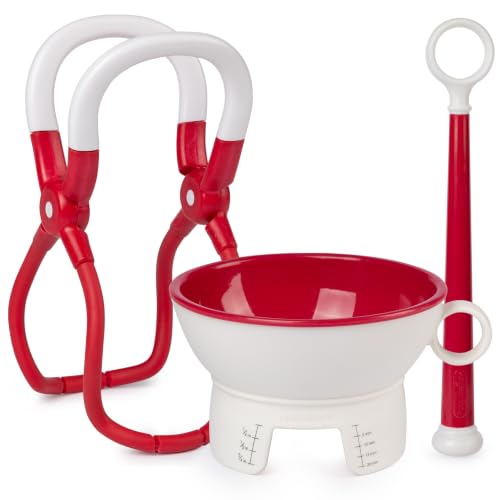
The three tools that matter most in one box: a spring-loaded jar lifter with soft grips, a funnel that fits both wide and regular mouth jars with a raised collar to keep it off the counter, and a magnetic lid lifter, per the manufacturer. It is listed as dishwasher safe. It does not include a bubble remover, so plan on a plastic spatula.
How much does it cost to start canning?
Using the live prices above, here is what a first water bath setup costs.
| Setup | What is included | Approximate cost |
|---|---|---|
| Bare minimum | Your own deep stockpot and rack, 8 pint jars, plastic spatula, towels | About $28 |
| Comfortable starter | Bare minimum plus tool set and a year of lids | About $88 |
| Full water bath kit | Comfortable starter plus a dedicated 20-quart canner | About $188 |
| Add pressure canning | Full kit plus a 16-quart pressure canner | About $340 |
Prices change daily; the as-of dates on each pick tell you how current they are.
When do you need a pressure canner?
When you want to can plain vegetables, beans, meat, poultry, fish, or soups, which are low-acid foods. There is no tested way to can those in a water bath. Oregon State and Missouri Extension both say the pressure canner should hold at least 4 quart jars and have a rack, and that dial gauges need an accuracy check every year, with replacement if they read more than 2 pounds off. Weighted gauges do not need testing.
Pantry pick: Presto 01755 16-Quart Pressure Canner

Holds 7 quarts, 10 pints, or 13 half-pints, with a dial gauge and a 12-year limited warranty, per Presto. It clears the 4-quart-jar minimum with room to spare and doubles as a water bath canner for half-pints and pints. Remember the yearly gauge check. Our pressure canner guide compares it with larger and gasket-free models.
Common questions about canning supplies
Do you need to buy a canning kit?
No. Kits are convenient, but many bundle tools you will not use. The checklist above covers what tested processes actually require, and you can fill gaps from your kitchen.
Can you use regular jars from the grocery store?
Use jars made for home canning. NCHFP lists commercial food jars as a cause of breakage, and Oregon State says commercial mayonnaise jars should never go in a pressure canner.
What else do you need besides equipment?
A tested recipe. The equipment only works with a processing time and headspace developed for that food and jar size. Start with NCHFP, the USDA Complete Guide to Home Canning, or your state extension service. Our tested applesauce method is an easy first project.
The short version
- A first water bath canning supplies list has 8 must-haves: a canner or deep stockpot, a rack, canning jars, new flat lids, bands, a jar lifter, a plastic bubble remover, and a timer with towels.
- The canner must hold at least 1 inch of boiling water over the jar tops and be no more than 4 inches wider than an electric burner.
- Flat lids are single use. Bands can be reused unless rusted or bent.
- Jars processed 10 minutes or longer, or pressure canned, do not need sterilizing.
- Half-gallon jars have tested processes only for apple and grape juice.
- NCHFP does not recommend canning in electric multicookers.
- A comfortable water bath starter setup runs about $88 if you own a deep stockpot and rack, or about $188 with a dedicated canner.
- Low-acid foods need a pressure canner that holds at least 4 quarts, and dial gauges need a yearly check.
Keep reading
New to all of this? Our beginner’s roadmap to preserving food at home shows where canning fits next to fermenting and drying. Read water bath vs pressure canning before buying a pressure canner, then try the applesauce method as your first batch. If low-acid foods are on the list, see the best pressure canners for beginners.
Primary sources for this article: NCHFP’s general canning FAQs and its guidance on canning in multicookers, Oregon State University Extension’s canning equipment guide, and University of Missouri Extension’s home canning guide.