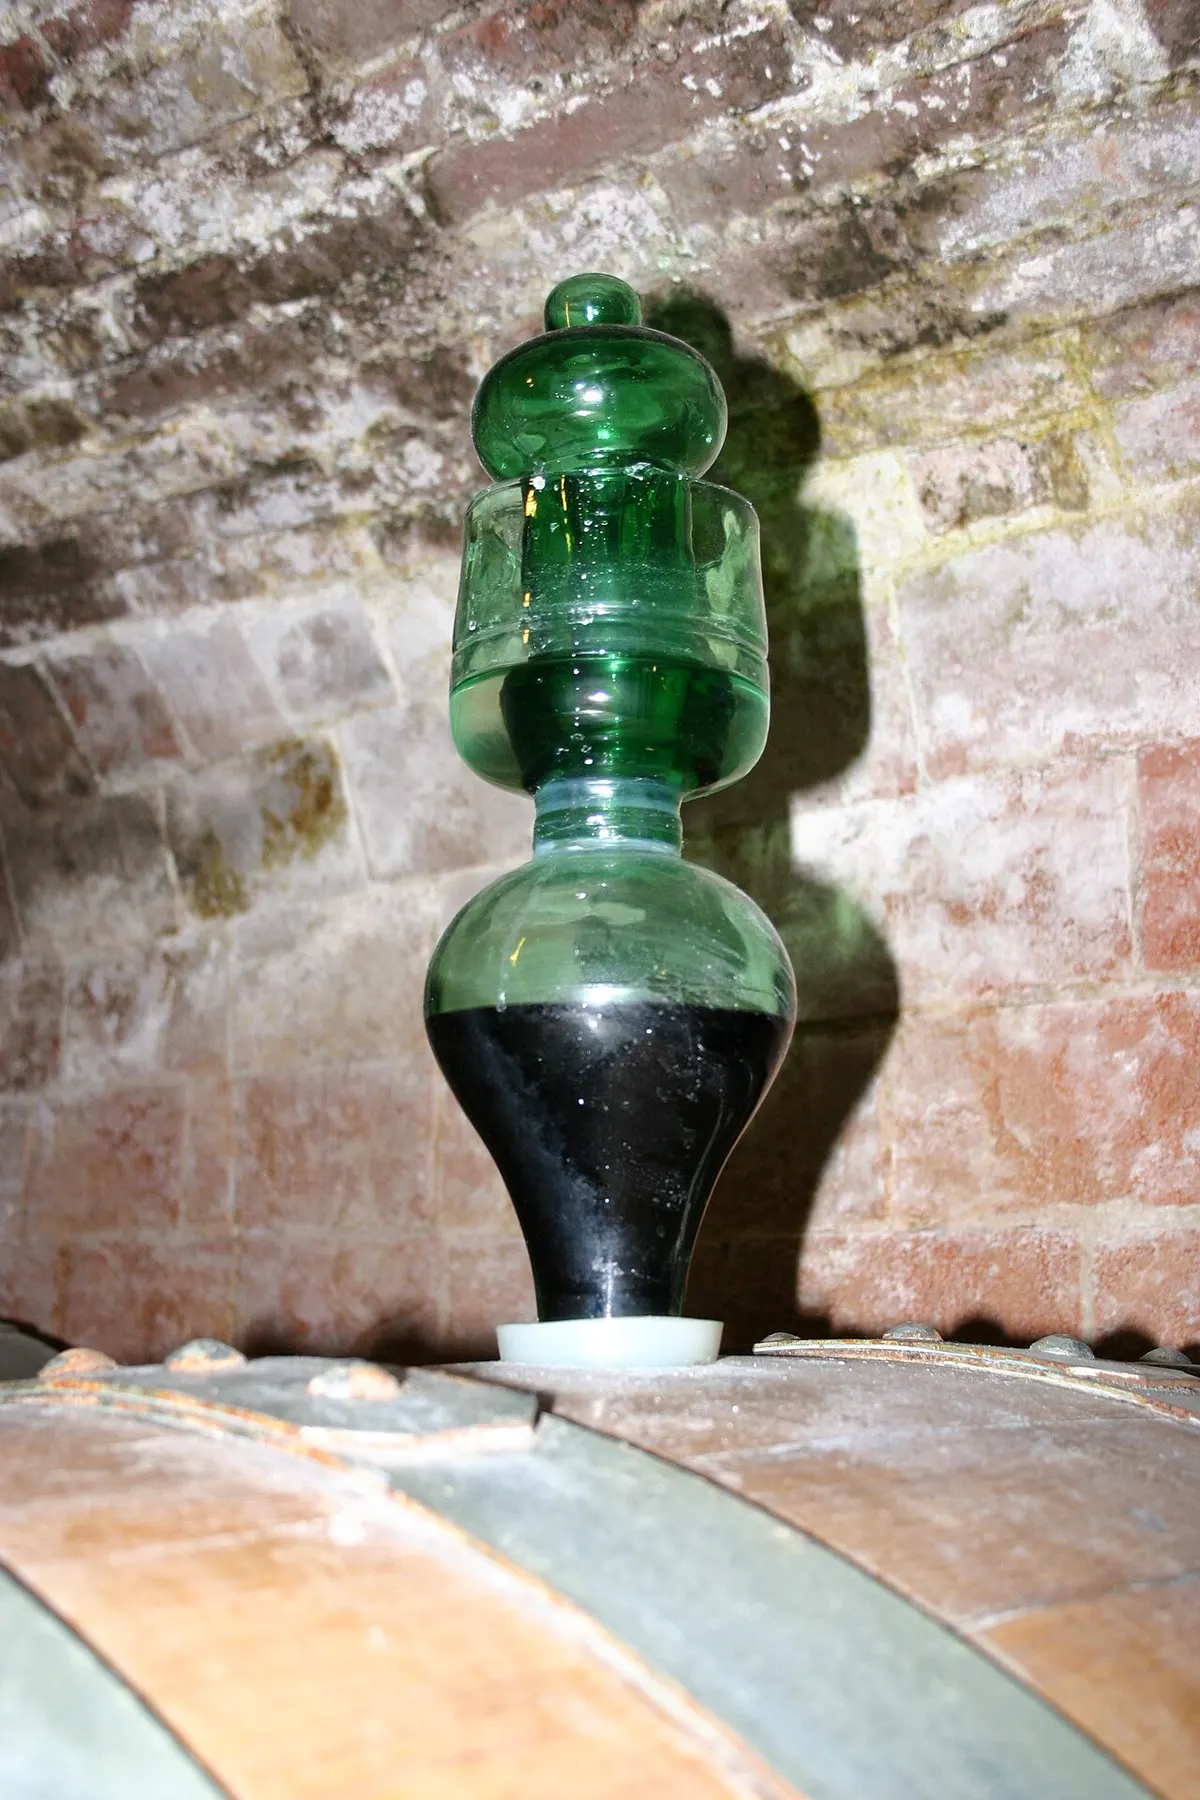
The best fermentation lids for mason jars do one job: let carbon dioxide out without letting much air back in, so you are not unscrewing a lid every day to stop pressure from building. There are three ways to get there. A silicone or plastic one-way valve, a water-filled airlock, or a plain lid you loosen by hand. All three can make good sauerkraut.
A note on how we built this guide: we have not bench-tested these lids ourselves. The picks are based on manufacturer specifications, extension fermentation guidance, published comparisons from fermentation educators, and patterns in owner reviews. Prices come from a live product feed and are dated.
Do you actually need a fermentation lid?
No. Extension recipes were written long before airlock lids existed. Penn State Extension’s sauerkraut method covers an open container with cheesecloth or a clean towel, and the University of Minnesota Extension simply says to follow the manufacturer’s instructions if you use an airlock system.
What a fermentation lid buys you is convenience:
- No burping. A regular two-piece lid on an active ferment needs to be loosened to release gas, typically daily through the first 5 to 7 days, when carbon dioxide production peaks.
- Less surface yeast. Keeping air out reduces the film that forms on exposed brine. Less is not none.
- Less smell. Cabbage in week one is not subtle.
Not everyone is a fan. Fermentation School argues that all you need for vegetable ferments is a glass jar, a regular fitted lid, and a glass weight, and it warns that silicone airlock lids can be hard to clean and may harbor unwanted microbes. That is a fair counterpoint, and it is why cleaning shows up in every pick below.
Which type of fermentation lid is best?
Here are the three main styles side by side.
| Waterless one-way valve | Water airlock (3-piece) | Plain lid, burped by hand | |
|---|---|---|---|
| How it vents | Silicone or plastic valve opens under pressure, then closes | Gas bubbles up through a small water chamber | You loosen the lid |
| Maintenance | Rinse; check the valve is not gummed shut | Keep the water topped up | Loosen daily in week one |
| Height on the jar | Low, about half an inch for silicone caps | Several inches taller | Standard |
| Visual feedback | Some models dome or show a dimple | Watch the bubbles | None |
| Parts to clean | 1 to 2 | 3 to 4, plus a grommet | 1 to 2 |
| Common failure | Brine dries inside the valve and seals it | Water evaporates; airlock gets knocked | Forgetting to burp |
| Typical cost per lid | About $6 to $9 | About $4 to $8 | Under $1 |
For a first batch, a waterless valve is the easiest to live with. If you like seeing the ferment work, or you want parts you can replace cheaply, a water airlock makes sense. If you are on a budget and home every day, a plain lid is fine.
Wide mouth or regular mouth?
Almost every fermentation lid is made for wide mouth jars, and for good reason. A wide mouth is 86 mm (about 3.38 inches) across, which is much easier to pack cabbage through and fit a glass weight into. The same wide mouth lid fits a half-pint, pint, quart, or half-gallon wide mouth jar, so one set of lids covers every batch size.
If you already own a cupboard full of regular mouth jars, some valve lids come in a regular mouth version, but weights for regular mouth jars are harder to find. For new purchases, buy wide mouth.
The best fermentation lids for mason jars, by type
Best overall: Masontops Pickle Pipes
Pickle Pipes are one-piece silicone caps with a small nipple valve in the center. Pressure pushes the valve open; when it drops, the valve closes. You set one on a wide mouth jar and hold it down with a standard metal ring.
Per Masontops, they are 3.3 inches across and about half an inch tall, made from food-safe, BPA-free silicone, and dishwasher safe. The 4-pack comes in four colors, which is handy for telling batches apart. A regular mouth 8-pack is also sold.
The pattern in owner reviews is consistent: easy to use, easy to clean, low enough to store in a cupboard. The recurring complaints are price for what is essentially four pieces of silicone, and occasional brine seeping out of the valve during the most active days. MakeSauerkraut notes the related risk: brine that overflows can dry inside a waterless valve and seal it. Leave headspace and set the jar on a plate.
Why it is our top pick: the simplest system here, one part per jar, low profile, and the widest owner track record in the category.
Pantry pick: Masontops Pickle Pipes, Wide Mouth 4 Pack
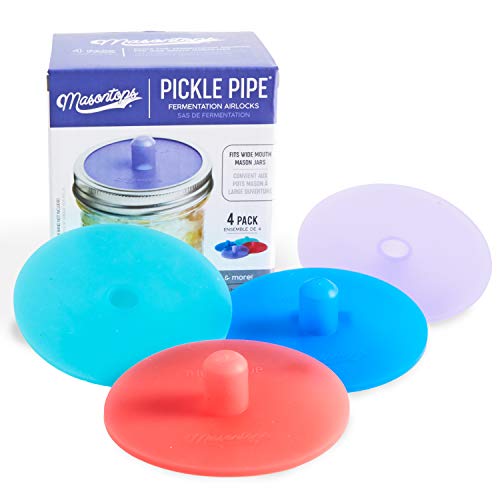
Four one-piece silicone waterless valve caps for wide mouth jars; use with your own metal rings. Dishwasher safe per the maker. Based on manufacturer specs and owner review patterns. Tradeoff: brine can seep out during vigorous fermentation, so keep a plate underneath.
Best starter kit: Nourished Essentials fermentation kit
This kit pairs 3 waterless valve lids with 3 glass weights and a small hand pump. The pump pulls air out of the headspace through the valve after you close the jar, which reduces the oxygen sitting on top of the brine at the start.
The appeal is that it solves both halves of the problem at once. You get the lid and the weight, sized to each other, in one box. The tradeoffs are a small premium over buying separately and more plastic parts than a silicone cap. The pump is optional. The valve does its job without it.
Why it made the list: the easiest way to go from zero to three working ferments without matching parts from different brands.
Pantry pick: Nourished Essentials Fermentation Kit

Three waterless airlock lids, three glass weights, and a hand pump for wide mouth jars, per the listing. Based on manufacturer specs and owner review patterns. Tradeoff: more parts to wash than a one-piece silicone cap.
Best water airlock: JILLMO stainless steel lids
This is the classic homebrew setup scaled down to a mason jar: a flat lid with a hole, a silicone grommet, and a 3-piece plastic airlock you fill with a little water. Gas bubbles out through the water; air cannot come back in while the water is there.
JILLMO’s version uses stainless steel lids rather than plastic, includes 4 lids, 4 airlocks, and grommets (with spares), and is listed for standard wide mouth jars from 8 to 64 ounces. The maker says to wash the plastic airlocks in warm water only and not to boil them.
The tradeoffs are the ones every water airlock has. The jar is several inches taller, the water needs topping up, and there are more small parts. The upside is that you can see fermentation happening, and a cracked airlock is cheap to replace.
Why it made the list: the lowest price per lid of our picks, sturdy metal lids, and a mechanism you can see working.
Pantry pick: JILLMO Stainless Steel Fermentation Lids, 4 Pack
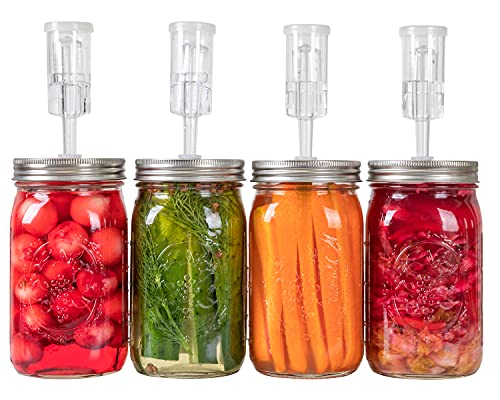
Four stainless steel wide mouth lids with water airlocks and silicone grommets, per the listing. Based on manufacturer specs and owner review patterns. Tradeoff: taller jars and water to keep topped up.
Also worth knowing
- Fermentology Sauer System. A water airlock kit with plastic lids that includes silicone stoppers, so the same lid becomes a storage lid once the ferment moves to the fridge. See current listings.
- Kraut Source. A stainless steel lid with a spring-loaded press plate and a built-in water moat, so it works as lid and weight in one. It was unavailable when we checked, but it is worth watching for.
Fermentation lid comparison
| Lid | Type | Lids per pack | Weights included | Height on jar | Price per lid (as of Sep 28, 2026) |
|---|---|---|---|---|---|
| Masontops Pickle Pipes | Silicone waterless valve | 4 | No | About 1/2 inch | See listing |
| Nourished Essentials kit | Plastic waterless valve, pump | 3 | Yes, glass | Low profile | See listing |
| JILLMO | Stainless lid, water airlock | 4 | No | Several inches | See listing |
| Regular two-piece lid | Burp by hand | n/a | No | Standard | Under $1 |
How to use a fermentation lid without problems
Whichever lid you pick, the process is the same, and it is the process that makes the kraut:
- Salt by weight and pack the jar, leaving at least an inch or two of headspace above the brine so bubbling brine has somewhere to go.
- Add a weight so every piece sits under the brine.
- Fit the lid and set the jar on a plate or in a bowl.
- Keep it at 70 to 75°F. NCHFP says sauerkraut is fully fermented in about 3 to 4 weeks at that range, takes 5 to 6 weeks at 60 to 65°F, may not ferment below 60°F, and can turn soft above 75°F.
- Check it anyway. A lid reduces surface yeast; it does not make it impossible. If a film forms, our Kahm yeast vs mold guide will tell you whether to skim or toss.
- Swap to a storage lid when it tastes right and move the jar to the fridge.
The short version
- The best fermentation lids for mason jars are waterless one-way valves for convenience and water airlocks for visibility and low cost per lid.
- Fermentation lids are optional. Extension methods work with a cloth cover or a plain lid burped daily in the first 5 to 7 days.
- Every lid still needs a weight; vegetables above the brine are where mold starts.
- Buy wide mouth: an 86 mm lid fits half-pint through half-gallon wide mouth jars.
- Sauerkraut ferments in about 3 to 4 weeks at 70 to 75°F, per NCHFP.
- Masontops Pickle Pipes ran $23.99 for 4 and JILLMO $16.99 for 4 as of Sep 28, 2026.
Related guides
Put your new lids to work with how to make sauerkraut in a mason jar, which covers salt by weight and jar sizes. If you are outgrowing jars, see our fermentation crock guide. New to preserving? Start with the beginner’s roadmap. For the underlying method, read the NCHFP sauerkraut instructions and Penn State Extension on fermenting sauerkraut and pickles.